
Refinish Your Dining Table - A Step-By-Step How-To Guide
Breathing New Life into Your Dining Table
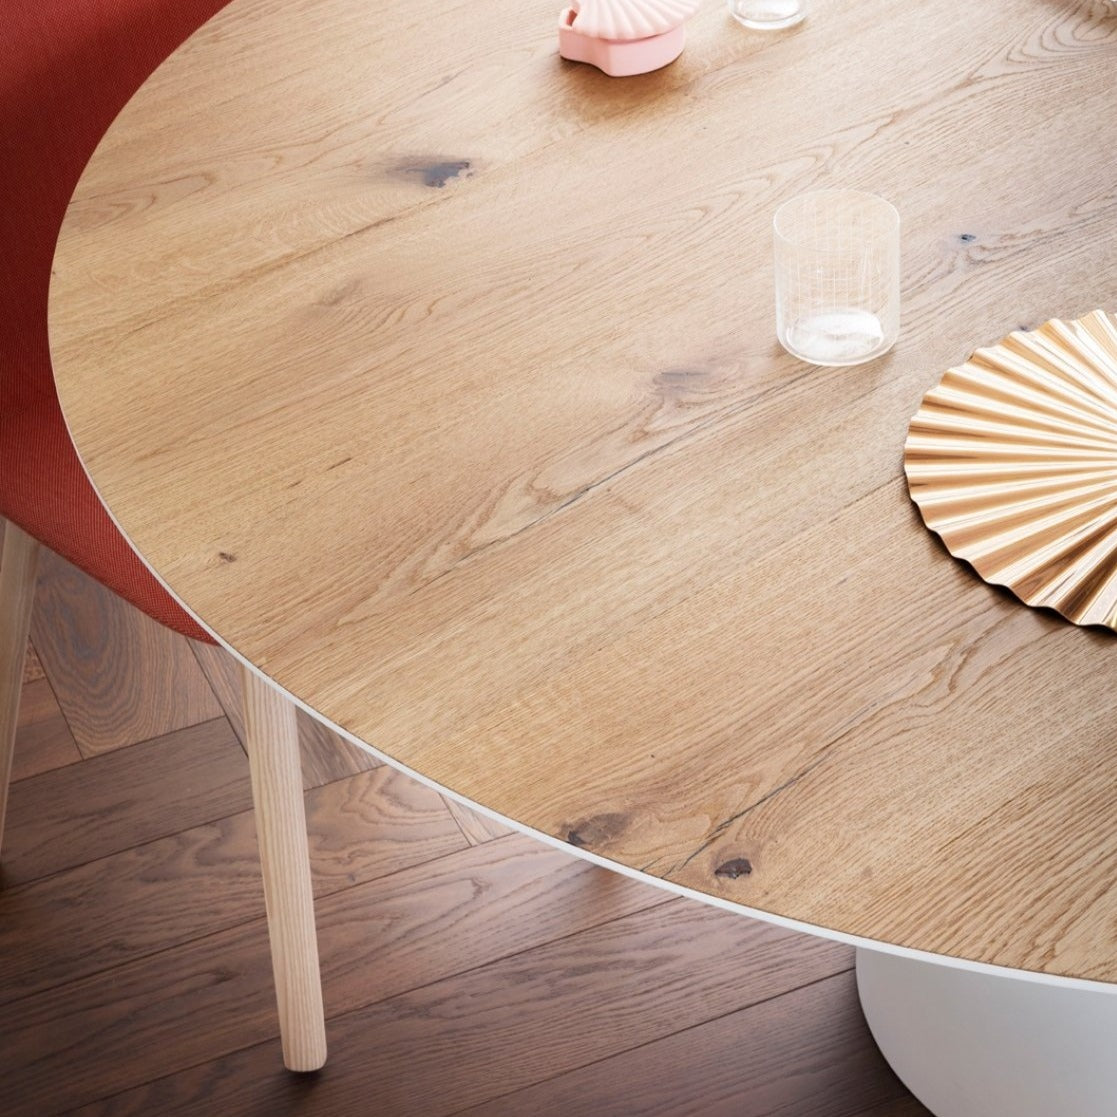
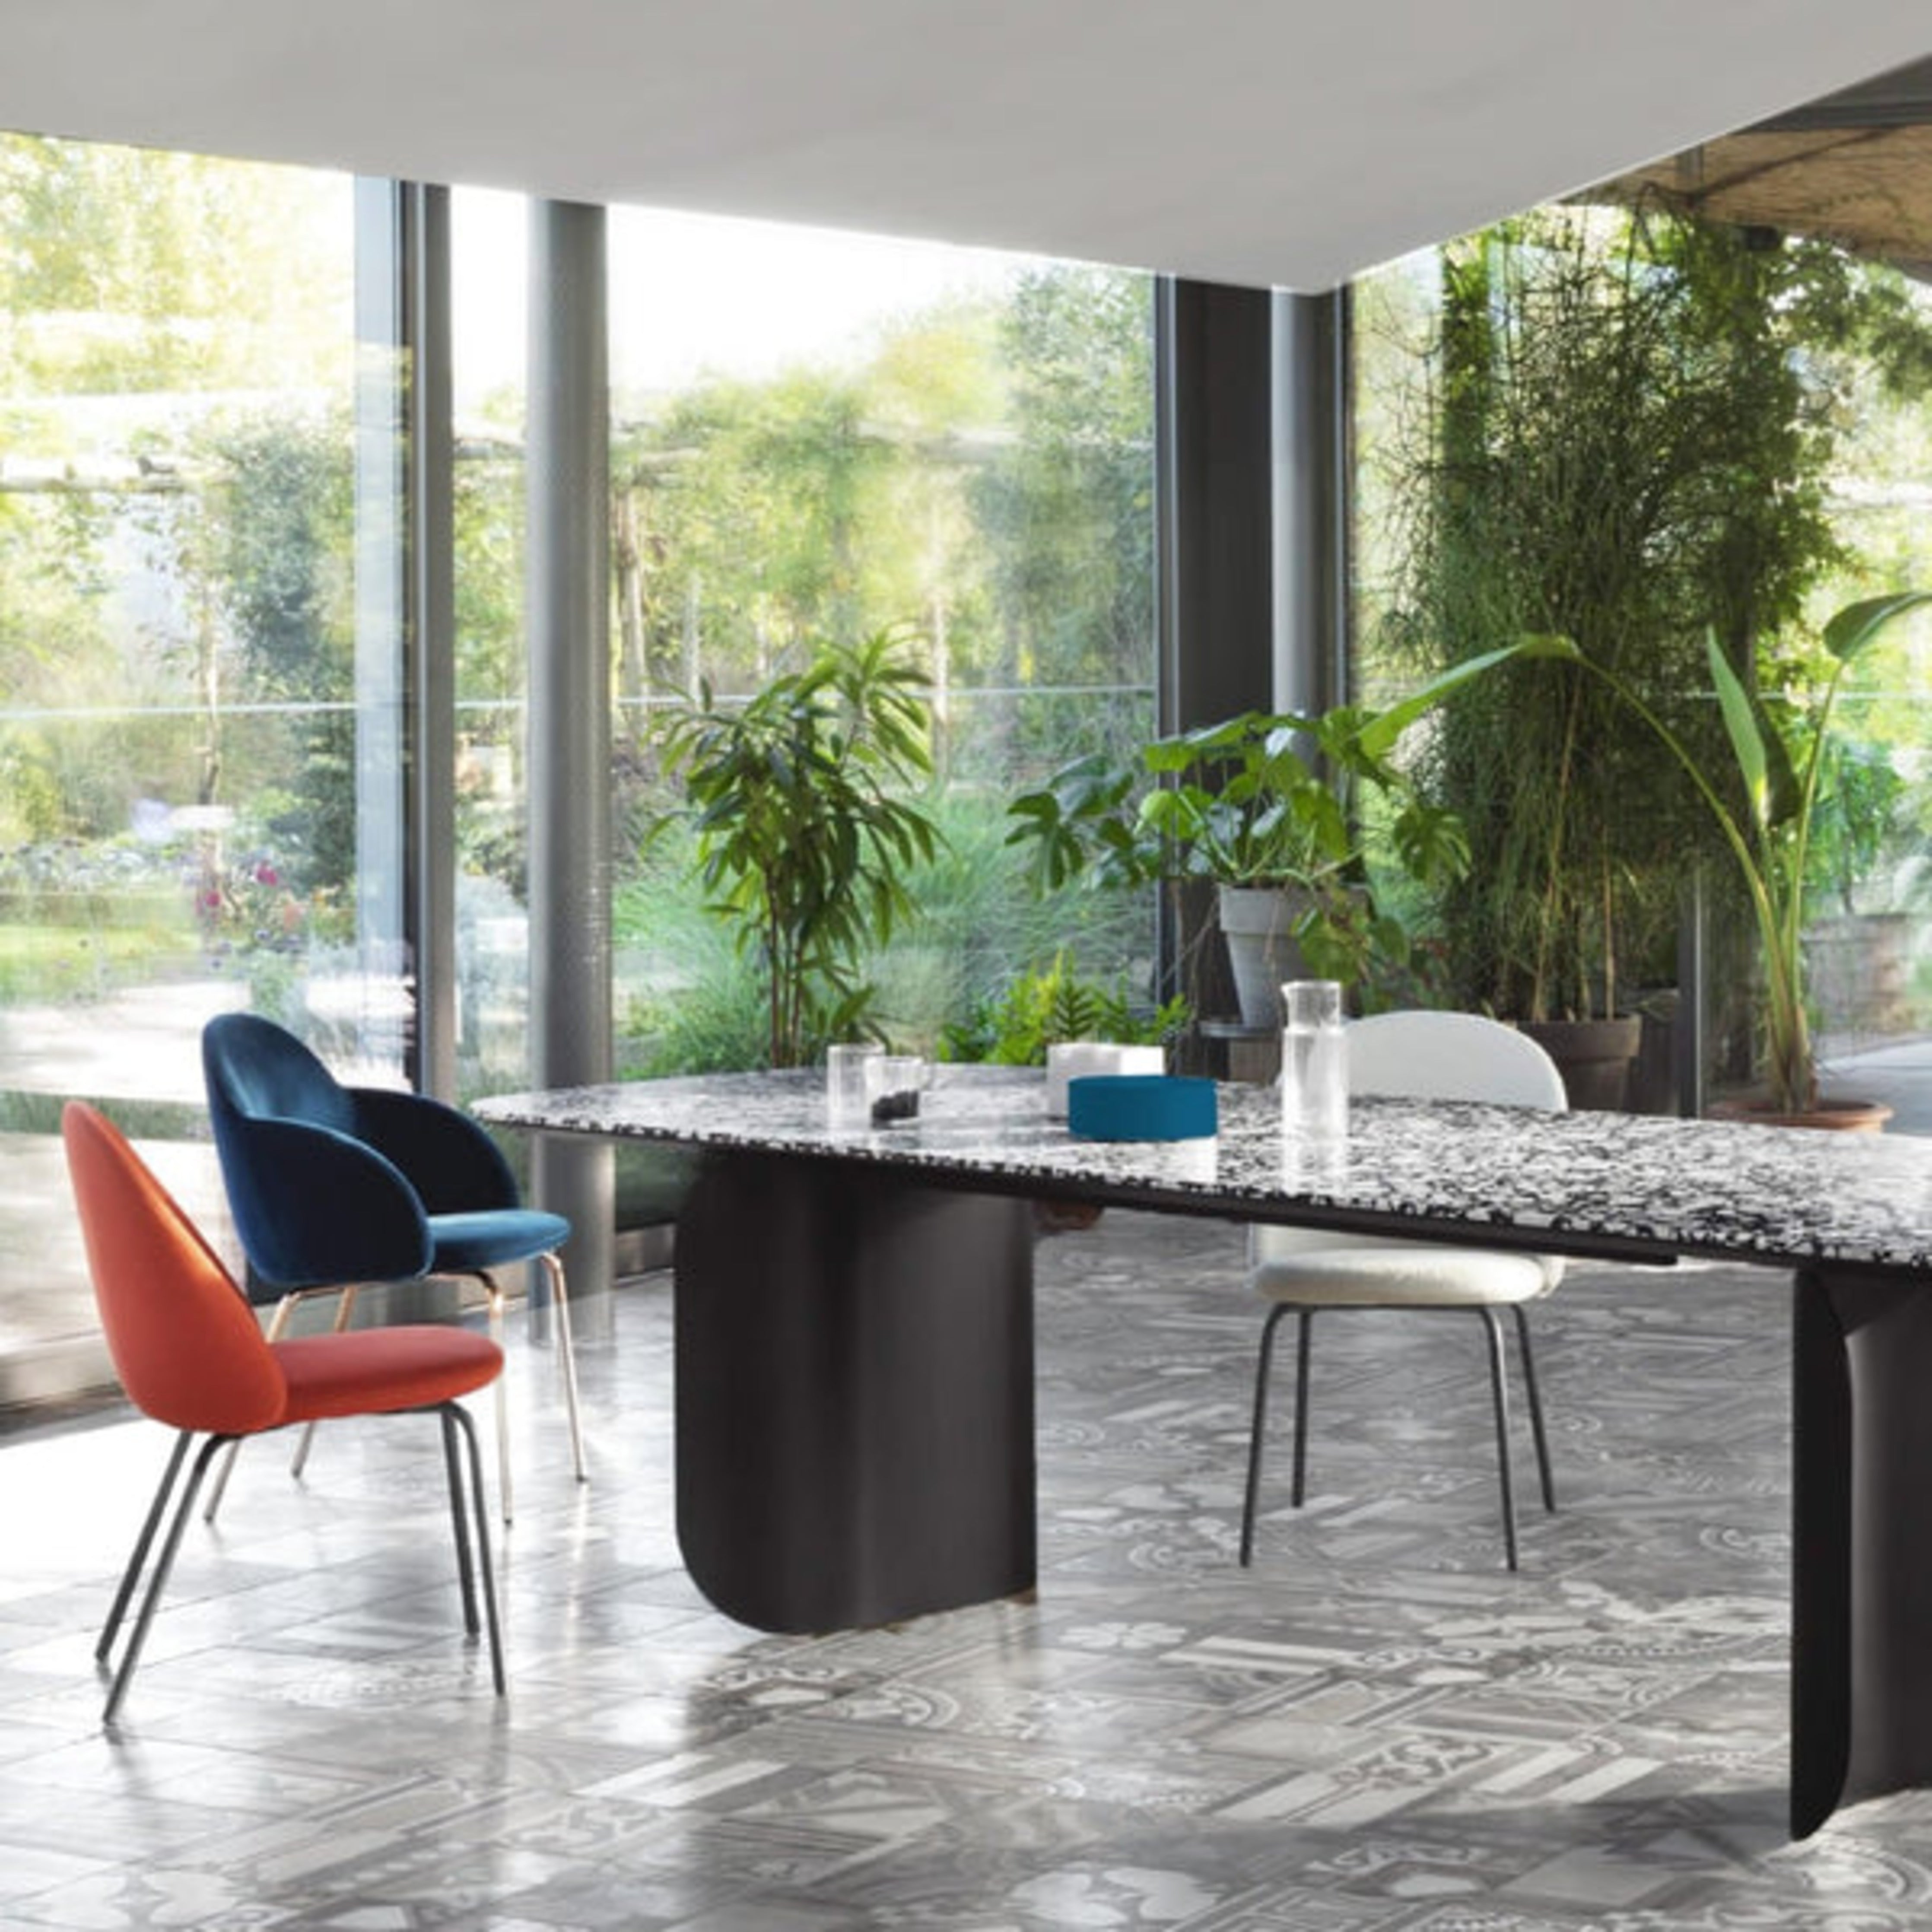
The family dining table is one of the most critical pieces of furniture in a home. It's where families gather to share meals, long conversations, memories, and fun times. Kids do their homework and arts and crafts there. Sometimes, grownups catch up with work in the same space as well.
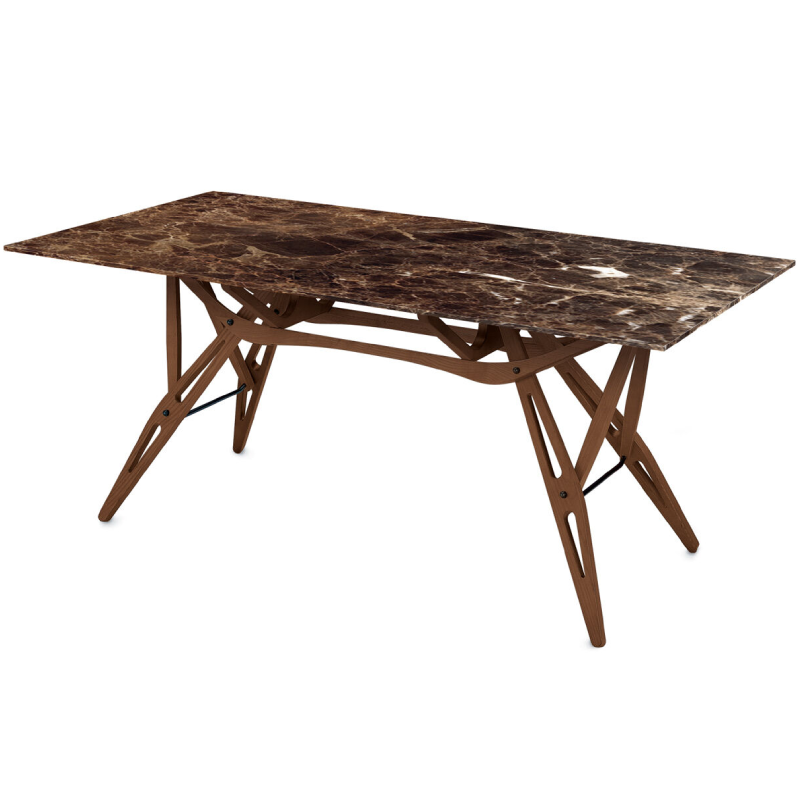
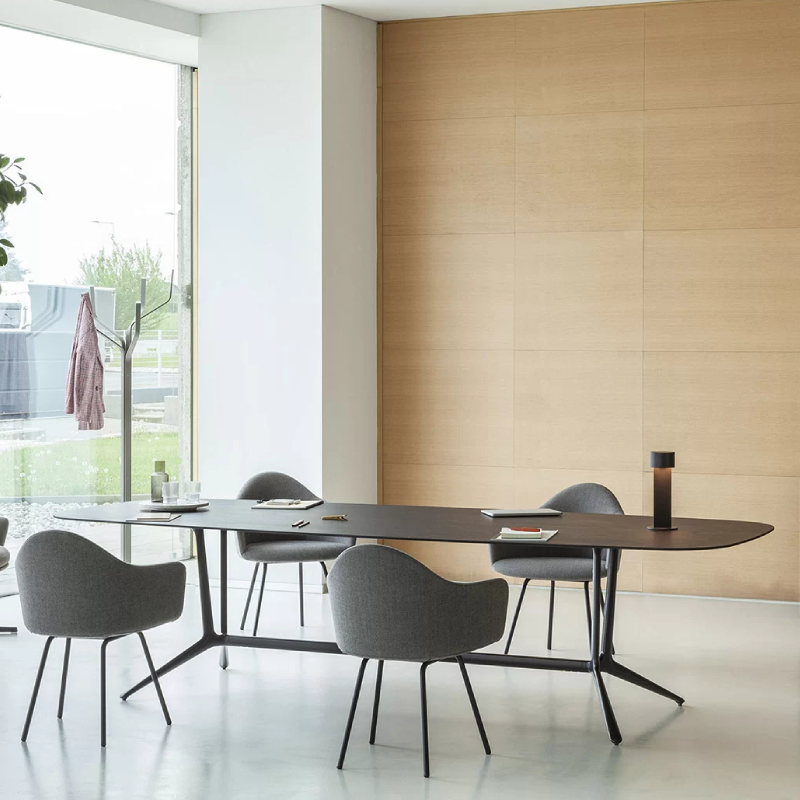
Thus, it makes sense that even high-quality modern luxury dining tables will experience wear and tear over time. It will show its age through scratches, cloudiness, and worn edges. The same is true for other wood surfaces throughout the home- especially hardwood floors, where traffic, furniture, and daily use can dull the finish over time. If your floors are showing similar signs of age, a professional hardwood floor refinishing can restore their warmth and character without the cost of full replacement. In outdoor environments, professionals such as composite deck builders often choose materials designed for durability and low maintenance, which highlights a similar long-term thinking applied to interior wood restoration projects. But, you don't need to throw your table out or dig into your pockets for a new one. Refinishing your existing dining table will give it a new life at a fraction of what you would spend by buying a new one.

The Importance of Proper Stripping
The first step is to strip off the old finish.
Use chemical strippers or sanding to remove the clouded, cracked, or peeling clear coat or stain. It's essential to take the table back down to bare wood. Only then can you achieve an even, flawless finish. Remember without stripping, new paint or stain will not adhere well and it would look patchy, uneven final look.
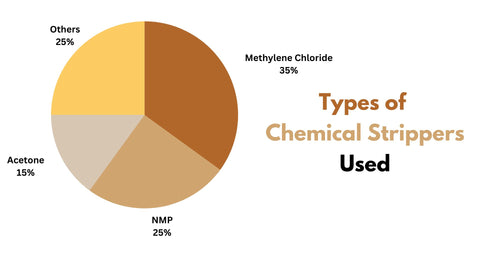
Chemical Strippers vs. Sanding
Sanding works for smaller areas. However, you are better off with chemicals for the entire table. Strippers penetrate and "melt" away old finishes far more efficiently. Furthermore, it only takes about 20-30 minutes versus hours of sanding.
Safety Measures
When working with chemical strippers, safety is paramount. They contain harsh solvents, which can be harmful.
Take the following precautionary measures while working with chemical strippers:
- Work in a well-ventilated area.
- Wear the right gear comprising gloves, eye protection, and a respirator mask. The gloves must have a solvent-use rating. Also, wear ANSI-certified safety goggles and a NIOSH-rated respirator with organic vapor cartridges. Exposure to or inhaling the fumes can damage your eyes and lungs.
- Use only Safer Choice-certified strippers by EPA to avoid the most toxic ingredients.
Once you finish stripping, thoroughly neutralize the wood with mineral spirits before moving on.
Materials You Can't Skimp On
Don't try to save costs by skimping because you will be disappointed. Refinishing requires investing in some essential supplies, including the following:
Quality Strippers
Top brands like Klean Strip provide the most effective chemical strippers. Look for methylene chloride-free formulas that lift old finishes quickly and thoroughly.
Avoid any old stripper you may have saved from a previous job. Chemicals tend to lose potency over time. You may end up doing more damage than good by using old strippers.
Essential Tools
Invest in a good-quality:
- Stripping brush with sturdy but flexible bristles. Doing so will allow you to apply the stripper evenly.
- Hard, plastic paint scrapers that will help remove the bubbled finish from intricate carvings and details.
- Stripping pads that fit contours better than brushes for tables with curved legs.
- A putty knife which comes in handy for scraping off strips of paint.
The Stripping Process: A Deep Dive
Let's get to the nitty gritty of the stripping process. At this stage, you should have all the supplies mentioned above. Now, roll up your sleeves, don the safety gear, and get to work.
Application Technique
Using a stripping brush, apply a thick coat of stripper in the direction of the wood grain. Ensure that you get into the nooks and crannies. Keep an eye on the clock because you shouldn't let the chemical stripper sit for more than 20 minutes before scraping.
Timing is Everything
You'll know that the finish is ready for removal by touching a paint-stirring stick to it. If the finish doesn't readily stick to the rod, let it sit a few minutes longer or peel off strips of softened finish with a plastic scraper. Reapply the stripper to any residual finish.
Common Mistakes to Avoid
Don't be in a rush by scraping off the finish too soon. Check the instructions for how long the chemical stripper should sit. That way, it becomes easy to remove the finish at once. It saves you from repeating specific areas. Also, you will avoid damaging the wood through aggressive action to remove the finish.
Prepping for Painting and Staining
Now comes the exciting part—painting and staining.
Cleaning the Striped Table Surface
Tools
- Mineral spirit
- Two pieces of cloth (one must be lint-free)
Dampen one piece of cloth with the spirit and carefully wipe every inch. Make sure you remove any residual stripper. Otherwise, it will mess with the outcome as the stain and paint won't adhere.
Now, take a lint-free rag and wipe the table again. You must dry it very well.
Taping and Covering
Tools
- Painter’s tape
- Rosin paper
- Drop cloths
- Screwdrivers
Place the table on drop cloths to catch wayward spray paint.
Mask off the areas you won't be refinishing with painter's tape and rosin paper. This protects adjacent surfaces from drips and splatters.
Remove hardware like knobs, if any, to avoid getting paint on them. It will also be easier to work without them in the way.
Priming
Tools
- High-adhesion primer
- High-quality, nylon/polyester paint brush
- Sandpaper
Apply 1-2 coats of high-adhesion primer like Zinsser® Bulls Eye® Shellac. This seals the wood while allowing the natural grain to show through.
Sand lightly between coats for a smooth base.
Paint Selection
General Finishes Milk Paint - Snow White looks great against stained wood. For a distressed look, apply the white over a grey primer coat. Oil-based paints give a durable finish to table legs and bases.
Application Techniques
A paint sprayer is fast and gives thin, even coats. Back brushing afterward blends brush and spray marks. A high-quality brush gives excellent control for smaller surfaces like stretchers or corbels.
Staining the Tabletop: The Art of Color
Choosing the perfect stain shade to give your tabletop the right depth and tone takes finesse.
For a rich, walnut tone, Minwax® Provincial Stain (271) looks stunning against painted legs. This would look great with black dining chairs in a well-lit room.
Test stain samples on wood scraps to see how the color develops. Apply 2-3 coats for optimal color saturation.
Wood Conditioner
Help the stain absorb evenly by prepping the table with a wood conditioner. This is especially important for softwood. Products like Minwax® Pre-Stain Wood Conditioner give excellent results.
Application Tips
Tools
- High-quality, natural-bristle brush
Always use smooth strokes along the wood grain. Work in small sections to avoid lap marks at the edges. Let the stain dry thoroughly between coats.
Sealing the Deal: Protect Your Work
Tools
- Good-quality, clear protective sealer
- 220 grit sandpaper
You are nearing the end of the job. The last step is to apply a clear protective sealer. Invest in a good-quality sealer to preserve the finish for years.
Sealing also helps avoid staining, fading, water rings, spills, and scratches.
Product Choices
Opt for a fast-drying sealer like Minwax® Fast-Drying Polyurethane. Oil-based polyurethane forms the hardest, most protective film. On the other hand, water-based polyurethane has the advantage of having the least odor. But it can perform better in durability. Always read and follow the manufacturer's recommendation on the application.
Application Tips
The trick to a perfect finish job is to avoid visible brush marks. So, stick to thin coats along the grain. Sand lightly between coats. Prevent lap marks by maintaining a wet edge. The rule of thumb is to always allow full curing time between coats.

Frequently Asked Questions (FAQs)
- Why is my refinished table still looking patchy?
You probably did not remove the old finish entirely before staining. Ensure that you thoroughly strip the existing finish for an even appearance. Reach problem areas with added stripper, scraper, and sanding.
- Can I skip the stripping process if the table looks okay?
No, you cannot skip the stripping process for whatever reason. New paint or stain will not adhere properly over old layers of finish.
- How long should I wait between coats of paint or sealer?
Follow the product label for the recommended drying time between coats. There will be variations depending on the product. For instance, oil-based paints and polyurethane need at least 24 hours between coats.
Conclusion
Your old dining table just needs some loving attention to bring back its splendor. All this is possible through a simple refinishing job. Yes, it will take time, effort, commitment, and some money. But in the end, you'll have a showpiece dining table that looks factory-new for a fraction of the replacement cost.

Written by Noah Redwood
Noah Redwood is a lifestyle blogger and content creator known for his discerning eye and intuitive sense of design. With years of experience exploring the world of luxury furniture and home décor, he has a rare ability to recognize what makes a piece truly exceptional, in form, proportion, and detail. His work celebrates the art of seeing, helping readers recognize the nuances of great design.


